
Infradox XS websites can be customised with back office settings and tools. Further-going customisation can be achieved with CSS, Javascript/JQuery and the built-in Infradox coding language.
If you want to start working on advanced customisations with the code editor, you will need to have experience with at least CSS and HTML, possibly with Javascript and JQuery. And you’ll need to familiarise yourself with the Infradox coding language – which uses XS tags, functions and condition blocks. The level of experience that is required depends on what you want to achieve. You can of course contract Xpertise or any 3rd party developer to do the work for you.
Recommended reading
- Using the code editor
- Using custom CSS
- Preventing problems caused by CSS changes
- Using custom script in your forms (Flex only)
- Loading custom HTML with Ajax
Develop mode and Production mode
Enable develop mode when you are making website changes with the code editor. To do this;
Before 31.4: go to Site configuration, Website configuration, and select the Develop mode radio button at the top of the page. Then save your changes at the bottom of the page.
Version 31.4 or later: go to the Code editor and click the ‘mode’ button at the top of the page.
When in develop mode, caching functions are disabled. Once you are done, remember to switch back to production mode.
General information, syntax and indentation
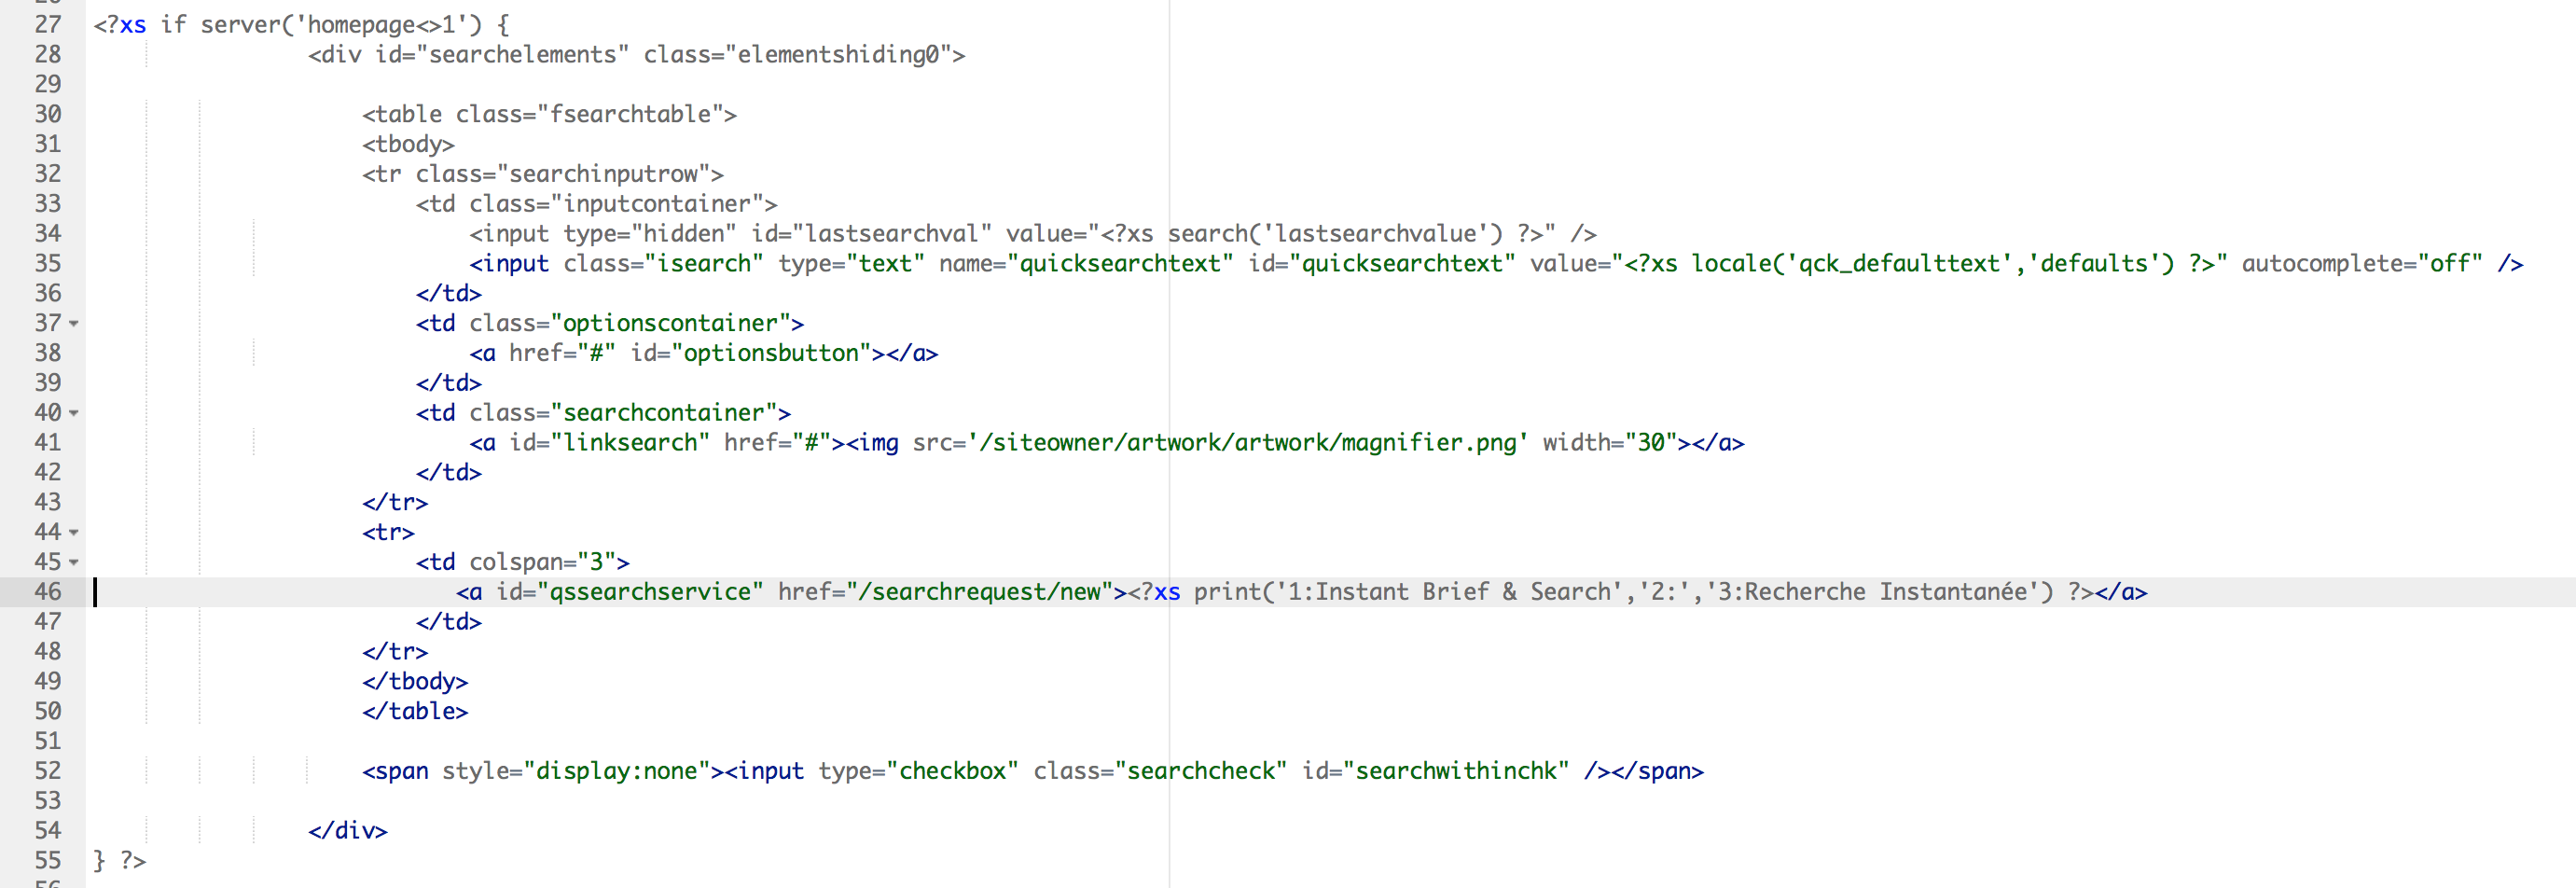
The custom pages are built with normal HTML and CSS, and you can use several Infradox XS tags and conditions.
Infradox XS tags start with <?xs and end with ?>
With regards to the Infradox tags and conditions:
- tags and conditions must be in lower case
- tags and conditions must use the exact syntax, error checking is mimimal
- widget tags must be on their own line, other tags can be used anywhere and on the same line too
- condition opening tags must be on their own line and condition closing tags must be on their own line as well
- conditions must be properly nested
Code indentation
If you need support from Xpertise/Infradox in case there are problems with your custom page, then it is very important that you have used proper indentation (with tabs) and white space so that your code is easy to read. For example:
and not something like this:
Availability of tags
Most tags can be used on any of the pages that you can edit with the built-in code editor, but some tags can be used on certain pages only. For example, the gallery related tags can be used on the gallery related pages only. Have a look at for example the article about building the Features page, or about the Contributor pages for further information.
Embedding CSS in your pages
While you are developing a custom page, you can embed CSS in the template itself with the <style></style> tags (see below) – so that you won’t have to switch between the page HTML editor and the Custom CSS editor. Once you’re done however, you should remove the CSS from the page, and you should then insert it in the Custom CSS template. You should avoid the use of inline CSS.
It is recommended that you also read the article Using custom CSS.
Note that although XS allows to be logged in on a single computer only, you can open the editor with the CSS template in one browser tab, and an editor with the HTML template you are working on in another browser tab.
If you have a development server that is publicly accessible, you can also consider editing a CSS file on your own server and including that file by adding it to the Infradox includes file (in the code editor). You can then make changes to your local file without having to use the editor. Once you are done testing, you can either paste your CSS in the code editor’s CSS file, or you can upload it to the web server (after which you’ll of course have to change the includes file again.
It is important to write specific CSS. XS has administrator/staff member functions that are integrated in the client facing pages or appear on top of client facing pages. If your CSS isn’t specific enough you may break such functions. By writing CSS for specific pages only, you can prevent such problems. For example, the home page body has the body id “home“, use this to create CSS rules that only affect the home page and no other pages. To test your CSS you can add the following to the top of the page.
Conditions
The Infradox XS condition tags are used to include or exclude page fragments depending on a condition.
Note that the opening and closing tags must be on their own separate lines, the rest goes on the lines in between. Have a look at the guest conditions below:
The HTML between the { and } will be included if the condition is true. As an example, if you want to display a link but only if the user is not logged in, then you can insert the following code in the template:
You can also use a NOT condition, e.g.
The order in which you use conditions is important
Infradox XS uses a preparser and a parsed strings cache to considerably improve website performance. Parsed strings (page fragments) are stored for users, guests, admins and so on separately – as well as localised versions for each fragment. This is why the order in which you use conditions is important. Consider the following example:
The cached version of the above code for guests (visitors who are not logged in) will look like this (the code that is not for guests is gone after parsing):
The above example shows that there are now two conditions left that will never be true if the user is a guest. So the code should be changed to the much more efficient code below:
Subdomain conditions
You can use the subdomain conditions to include or exclude html or other elements depending on the active subdomain. For example:
or
or
More information about dynamic subdomains can be found here. Also, have a look at the <?xs session() ?> tag further down.
Website configuration conditions
Search related conditions
You can use the below conditions to test for search related conditions.
The conditions can also be used with the NOT operator.
For example
Include fragment if the user’s results were filtered.
The user did search at least once
The search results were truncated to the maximum number of results
The search results are retrieved with the “Latest” command (e.g. www.mysite.com/latest)
The search results were retrieved with a command that retrieves all files for a specific contributor/supplier
The executed search command retrieved one or more results (i.e. files were found)
Other user related conditions
You can use the following conditions to include or exclude code fragments depending on the user’s permissions:
Server conditions
You can include or exclude code fragments depending on the values of server variables (more below). You can use == and <> to test the variable.
Important: you can’t use the NOT keyword for server variables, see below.
To use the value of a custom variable in a server condition, the variable name must start with an underscore:
All the custom templates have a unique XST id that you can use in your templates to include/exclude html or script depending on the active page. For example:
There’s an overview of all the page/template id’s further down in this article.
Module conditions
Locale conditions
You can also use a condition to e.g. display HTML depending on the select website language. This condition requires the locale id as its parameter. For example:
Contributor profile page conditions
There’s a number of conditions that you can use on the profile pages to allow your contributors to change what shows on their page.
For example
For more information about developing the contributor profile pages, please read setting up the contributor pages.
Constants
You can output the string value of the server side constants with the <?xs constant(‘name’,’file’) ?> tag. Where ‘name’ is the name of the constant and ‘file’ is the name of the file that contains the constant. For example <?xs constant(‘cItemsTotal’,’orders’) ?>
‘File’ may be empty for the default constants file. For example <?xs constant(‘cClose’,”) ?>
The constant tag outputs the localised constant depending on the active user interface language.
Variables – var()
There are two types of variables that you can use in your code, i.e. server variables (not persisted) and session variables. Session variables have names that start with an underscore.
You can print the value of either type variables with the <?xs var(‘variablename’) ?> tag. For example:
The above tag will output whatever value the server variable somevariable has.
The above example uses the replaceparams parameter to output the text Disable if the server variable somevariable has a value of 1, or else it will output the text Enable.
The above example uses the replaceparams parameter to output the value of the server variable somevariable, and it will output ‘unknown’ if the variable is blank/has no value.
If you want to test for a value that is contained in a variable, then you can use containsreplace instead. For example, if variable somevariable has ABCDE and you use containsreplace:C=checked then the output will be “checked” (because C is in ABCDE).
XS Build number
To get the buildnumber (to add to script tags) use <?xs var(‘includebuild’) ?>
Also see the session() tag below for access to certain variables.
Also see the explanation of the server() condition above, that can be used to include or exclude code fragments depending on a server variable value.
Repository properties – rproperty()
The rproperty tag can be used to output a value that is stored in the repository.
Contact details
The contact details (Site configuration, General Settings) can be output with the following tags:
For information re localised properties, scroll down to the section about Localised tags.
Search data – search()
Examples/fields that you can use with this tag:
User and session data – session()
<?xs session(‘fieldname’,{options}) ?>
Examples:
Some examples of fields that you can use with the session tag:
The session(‘guest’) tag can also be used to output text (e.g. a class name). For example:
The above tag outputs the text needlogin if not logged in, or else the text loggedin. The Infradox script library uses the classes needlogin and loggedin to attach handlers to all links that require one to be logged in. By default such links will then display the log in dialog if a guest user (someone who is not logged in) clicks on a link that requires one to be logged in.
Below are some more user related fields that you can use:
- userpricecalc > the active price calculator option
- userpayforpermissions > 1=user must pay to enable permissions
- userunmarked > 1=user has permissions for comps without watermarks
- usercurrency > the user’s currency, e.g. EUR
- userhasdisc > the user has a discount
- userdiscperc > the user’s discount percentage
- userhiderfprices > 1=hide prices for RF files for this user
- userip > the user’s IP address
- useripcountry > the country of the user’s IP address
- userterritoryid > the id of the user’s country
- userisagent > 1=the user is an agent
- userdownloaddirect > 1=the user has “download direct” permissions
- userbrowser > the user’s browser
- useros > the user’s operating system
- userdlmax > the user has download permissions and there’s a max number of downloads configured
- userdlmaxdays > the number of days for above, e.g. max 100 downloads in 30 days
- userdlcount > the number of downloads already used in “userdlmaxdays”
The fields usersuppliercode and usersuppliername will only output data if the logged in user is a supplier/contributor. You can for instance use these fields to create a url to the user’s profile page, e.g.
You can use the subdomain variables for instance to change colors by applying special classes to HTML elements.
In the below example, we have created a class:
This class will change the background color of the header if the subdomain with id 11 is active:


