Introduction
Large photo slide shows on your website home page look good. But as you may have found out, it’s not easy to configure the default slide show settings so that the images display to your liking on both desktops and devices with both portrait and landscape orientation.
Furthermore, to support large desktop screens, large image files are required. This results in a waste of bandwidth and unnecessary page load times on devices that don’t need those large files. Long load times are likely to affect your SEO results too.
In version 32.19, new “Slide show responsive images” home page blocks are added that addresses these issues. And because there simply is no one-size-fits-all solution, you can tweak the settings to your liking via CSS. The new blocks use CSS only without relying on 3rd party Javascript, which further reduces the number of requests and download size.
Recommended reading
For more information about the WebP image format, please read WebP support.
What you have to do
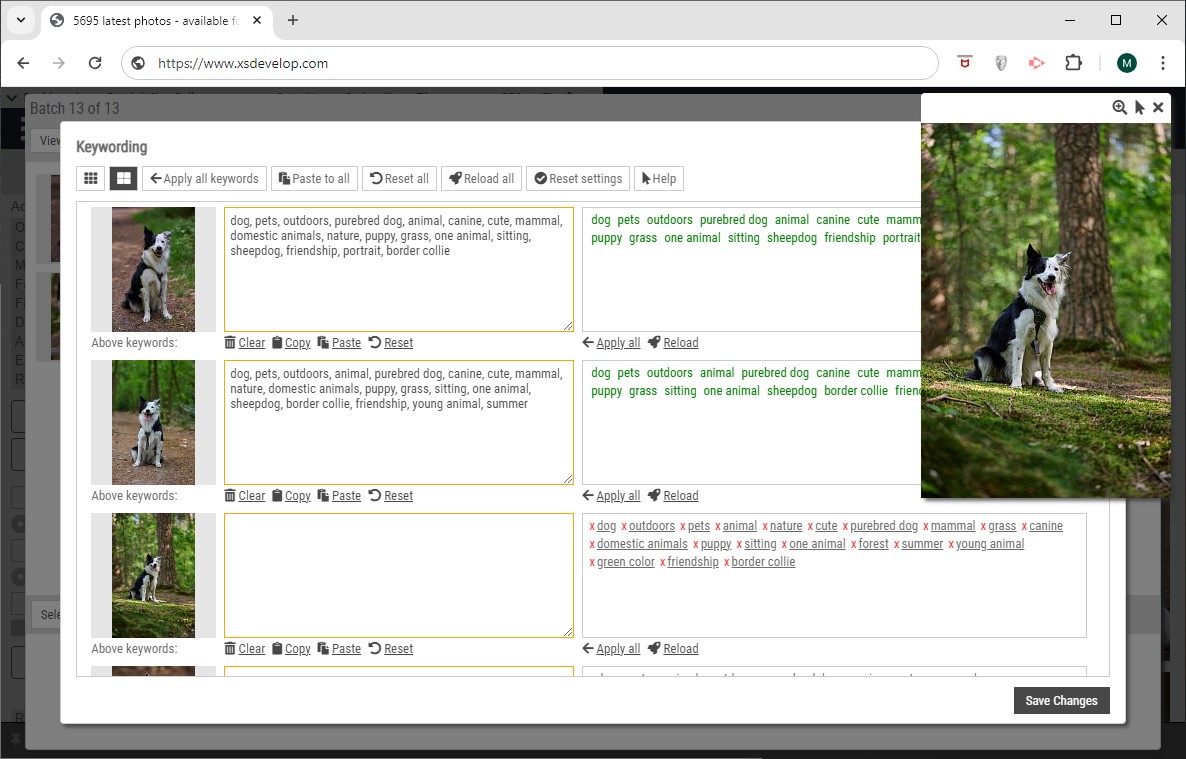
Using responsive images for your slide show is a bit more involved, but we have developed new tools to make the process relatively simple for you. For example, creating all the smaller images can be done with the click of a button in the File manager. The same is true for generating WebP versions of your files.
It is recommended to complete all the below steps before you enable a “Responsive slide show” in your home page blocks.
File sizes and aspect ratio requirements
You will first have to determine the height of the slide show that you want to use on desktops with screens wider than 1920 pixels. For the sake of this example, we’ll use a height of 700 pixels.
Now select JPEG images that will look the way you want them to look at 1920×700 pixels. The aspect ratio is approximately 3/2, i.e. 3 times wider than high. If you want a higher slide show then the aspect ratio will change too. It’s important to understand this principle when you select images.
Note that the files that you need to upload will have to be 4000 pixels wide – or even wider if you want to support very wide desktop screens.
File names
In the next steps, you’ll be using File manager to generate a set of (smaller) files from the largest files that you are going to upload. These smaller files will have file names that are the same as the largest file but with the size in pixels added (prefixed with an underscore). For example, the files myfile_2048.jpg, myfile_1024.jpg, myfile_640.jpg et cetera will be created for your myfile.jpg image. Because of this, the files that you upload must follow strict naming conventions. I.e. the file names may have letters and/or numbers only and the file extension must be .jpg. Note that the files must be JPEG images, even if you are going to enable WebP files.
You will need to use specific file names if you have configured file clicks to e.g. execute a search or load a URL.
Now use File manager to upload your JPEG files to the folder “home\slideshow-ar”. If this folder doesn’t exist yet then you’ll have to create it first.
Generating images for smaller screens
In File manager, select the large JPEG images that you have uploaded (you can use ‘select all’ or hold down cmd (Mac) or ctrl (Win) to select a range of images. Then click on “Resize” in the toolbar. In the dialog, select the radio button “Generate aspect ratio set” and tick the “Keep original files” checkbox. Then click “Resize”. This action may take a while, wait for it to complete without clicking anywhere.
Art direction
If you have selected suitable photos for your slide show this step should not be necessary. If however you are still unhappy with how certain image are shown on certain devices (e.g. on a phone in portrait mode) then you can replace these images with versions that you have cropped manually.
For example, the image that a phone browser in portrait mode will load is the smallest image that is generated for the 3:4 aspect ratio which is 640 pixels wide – e.g. myfile_640.jpg. You can then replace this file with an alternate crop. If you use WebP (see below) then remember to generate the WebP version again for the replaced jpg file.
Read the paragraph about “Testing” at the bottom of this page for information about testing your slide show on various devices.
Optimised images for improved speed with WebP
This step is optional, but we do recommend it. To use WebP images, select all the .jpg images in the folder (including the smaller files that you have generated in the previous step) and then click on the “WebP” button in the toolbar. This will create a WebP version of each image. This again may take a while, make sure to wait for the action to complete.
If you haven’t enabled the WebP slide show setting yet, go to Site configuration > Home page configuration and tick the “WebP slide show images” setting in the “Slide show” section.
Lazy loading
To improve page loading speed and to make sure that the browser can render the page without having to wait for all the images to load, only the first slide show image will download and display when the page loads. The rest of the images are loaded just before the image will display, i.e. before it fades in. This is done with the script that’s embedded in the home page block. Read the paragraph “Generated HTML” for more information about this.
Adding the CSS to the code editor
The required script (xsheroimages) is automatically embedded in your page when you add a “Slide show responsive images” block in your home page blocks.
So that you can control the slide show’s appearance, the CSS needs to be added to the code editor’s Home page CSS file (code editor template 291).
Ready-to-use example CSS is available in the code samples.
To support all common devices and screen orientations portrait and landscape, the default CSS changes the height of the slide show using media queries as follows:
</thead
| Screen width | Slide show height | Example |
|---|---|---|
| > 1920 | 1000 pixels | very wide desktop |
| <= 1920 | 700 pixels | desktop |
| <= 1280 | 600 pixels | iPad in landscape orientation |
| <= 1024 | 450 pixels | iPad in portrait orientation |
| <= 640 | 300 pixels | Narrow browser |
| <= 415 | 350 pixels | Phone in portrait orientation |
The below media query is an example showing how the height of the slide show is set to 600 pixels if the screen is 1280 pixels or narrower.
These CSS rules can easily be changed as needed. Note that the above CSS doesn’t control the image size that the browser will load. This is explained below.
Read the paragraph about “Testing” at the bottom of this page for information about testing your slide show on various devices.
CSS property aspect-ratio
As opposed to controlling the height of the images with media queries, it would be possible to use the aspect-ratio CSS property to maintain the image aspect ratio. This property is currenly supported by most modern browsers. After some experimenting, we feel that using media queries offers more control and flexibility. The CSS can however be changed to meet your requirements.
Controlling which part of the image displays in the visible area
The example CSS displays the center of the image within its container (the list item explained above). You can change this by editing the CSS properties object-fit and object-position shown below.
Limiting the width of the slide show
The example CSS uses a full width slide show. If you want to restrict the width of the slide show, then change the CSS for the container list #responsivelist. For example, you can add:
to prevent the slide show from being displayed wider than 1800 pixels on wide desktops. The margin property will display the slide show centered on the screen.
Slide show settings
The speed of the image transitions, the image click settings and the WebP settings are still controlled via Site configuration > Home page configuration > Slide show. All other settings however are not, these are controlled by changing the CSS. All files in the folder are used regardless of the selected option in the configuration drop down, and the “Mobile slideshow” settings have no effect either. The download size of the images is automatically determined by your browser by reading the screen aspect ratio properties.
Generated HTML
The below example shows the generated HTML for a slide show with three photos.
Have a look and note the following:
- only the first item has srcset and src attributes which will load the image immediately when the page loads
- all other items have the data-srcset and data-src attributes that are used to dynamically apply the srcset and src attributes just before the image will display
- this example uses WebP images, if a browser doesn’t support WebP – the script will automatically switch to JPG images
- to control the maximum height of the images for different screen widths, you will have to change the CSS
- the aspect ratio of the screen will determine which file your browser loads, we use the aspect ratios shown in the table below:
</theadDescription Aspect ratio mobile devices/phones < 3:4 tablets portrait < 4:3 tablets landscape and desktops < 39:20 Wide desktops >= 39:20
HTML output example
Testing
The easiest way to test your slide show is to use Chrome or another browser with developer tools. For this example we use Chrome.
Load your home page and right-click on the page. Then select “Inspect” in the context menu to open the DevTools window.
In the toolbar click on the Device icon (the 2nd icon from the left). Your main browser window will now be in “device switching mode”.
You can emulate different devices and screen widths by clicking on “Dimensions” in the bar at the top of your browser.
In that same bar you’ll find a button to switch between portrait and landscape orientations, e.g. if you’re emulating a tablet or phone.
Need help?
If you need help, create a support ticket on xpertise.zendesk.com.