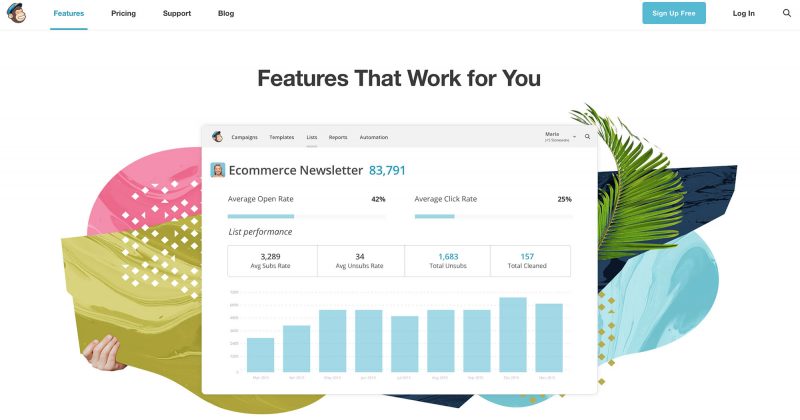
XS websites have built-in support for MailChimp newsletter subscribe forms.
Other solutions can be integrated too if you use the full page option, but we recommend that you use the pop up version with MailChimp. We have focused on MailChimp integration, because it’s one of the most used and reliable solutions and their API is easy to integrate into XS websites.
Mailing list are maintained by the 3rd party – in this example by MailChimp. If you use MailChimp and a newsletter sign up form on your website, then it’s probably a good idea to disable the “Marketing information” checkbox in the website Registration and My account forms.
Note that adding MailChimp integration requires you to use the code editor. If you want to learn more then read the article Using the code editor first.
Getting the form code from MailChimp
- Log in to MailChimp with your login name and password
- Go to Lists in the menu. If you haven’t created a list yet, then create one now.
- Click on the name of the List for which you want to create a form.
- Click on Sign up forms.
- Click on Embedded forms.
- Configure your form (i.e. select which fields you want to use and so on).
- The rest of the steps are described in the following paragraphs.
Adding a MailChimp subscribe form as a pop up
This method uses the MailChimp API to post data and to receive messages from the MailChimp servers, without leaving the page that the user is viewing on your website. I.e. this method uses full integration and it is the recommended solution.
- Go to the code editor and choose News letter > Sign up form for pop up in the drop down at the top.
- Click the button Load example to open the file dialog. Select the template mailchimppopup1.txt and click Use code at the bottom of the dialog.
- The default code including the required css will now be showing in the editor.
- Go to the Mailchimp website and copy the code for an “Embedded form”.
- Paste the code in the code editor where you see the line <!– insert the form here –>
- From the lines that you just pasted, remove the lines above
<div id=”mc_embed_signup”>
so that your form code starts with the line
<div id=”mc_embed_signup”> - At the bottom of what you just pasted, remove the line that starts with<script type=’text/javascript’
and any other lines that are underneath it. - Save your code.
The Infradox XS script will automatically change the form’s post action to use JSON so that users aren’t taken to the MailChimp servers.
If you want you can change the CSS and/or the messages that you can find inside the div xs_responsemessages. Don’t change the id’s and class names.
To make the popup form accessible on your website, add a link or button with the class name newsletterpopup.
For example
You can add it to the menu, to your footer or wherever you want and on any page. The link or button will open a dialog in the center of the screen. The dialog communicates with the MailChimp API to post data and to receive and display feedback messages – without leaving the active page.
Adding a full screen page with a MailChimp subscription form
- Go to the code editor and choose News letter > Sign up form page in the drop down at the top.
- Click the button Load example to open the file dialog.
* If you want to use the standard MailChimp styling and validation, then select the template mailchimpform1.txt
* If you want to style the form, use the Infradox XS form validation and post the form without leaving your website, then select mailchimpform2.txt - Click Use code at the bottom of the dialog.
- The default code skeleton has XS tags that will insert the page header and menu and the footer. It will also make sure that any custom CSS and/or Script is loaded. You can change the default code as required.
- In a new browser window, go to the MailChimp website and create a Sign up form.
Read the article Create sign up forms and response e-mails on their knowledge base pages for further information. - Copy the generated form code.
- In the code editor in your website, paste the form code that you copied in the previous step where you see the line <!– insert your mail form here –>.
- Save your code with the Save button at the top of the editor.
- You can now test your form by going to www.yourwebsite.com/subscribe. (replace www.yourwebsite.com with your own website domain). It is recommended to test the form in a separate window so that you make changes in one window and test the results in another.
- When you are done testing you can add a link to the form on other pages. For instance in your page footer or in the menu and so on. The link URL that you should use is /subscribe.- without your website name in front of it.
If you stop here, the styling and the form validation is done by the MailChimp functions as you have configured on their servers. When one submits the page, he/she will be taken to a page on the MailChimp website with further instructions. If you want to take care of form validation and feedback yourself, without the user leaving your website, then follow the next steps.
- From the lines that you just pasted, remove the lines that are above
<div id=”mc_embed_signup”>
so that your form code starts with the line
<div id=”mc_embed_signup”> - At the bottom of what you just pasted, remove the line that starts with
<script type=’text/javascript’
and any other lines that are underneath it. - Make sure that the code contains the div “xs_responsemessages”.
The Infradox XS script will look for this div and if it exists it will automatically change the behaviour of the form. - Save your code.
Adding custom variables to the MailChimp sign up form
MailChimp allows you to add hidden variables to the form data that is posted to their servers when a user signs up for your mailing list. If for example you want the user account id to be included, then you can do so by adding this to the form action URL. This URL is in the form code that you have pasted in the code edtior. It ends with id= followed by a unique id. Add your variables after this id.
For example:
<form action=”//somelist.us8.list-manage.com/subscribe/post?u=37c2257a806ba99ba0b1498a0&id=6a9f808926″
Add the user account id to the data:
<form action=”//somelist.us8.list-manage.com/subscribe/post?u=37c2257a806ba99ba0b1498a0&id=6a9f808926&userid=<?xs session(‘userid’) ?>”
For more information about infradox XS tags and variables, read the article Infradox XS Customisation.
Using Infradox XS tags and functions for localization of the MailChimp form
If you want the text that is used in the form to be displayed in the selected user interface language, then you can use the Infradox functions to achieve this.
For example, replace:
with
Example code for MailChimp popup
Below is a complete example (for English and French) that you can paste into the code editor. The CSS is included and you can leave it in the file although you may want to consider moving it to the CSS file in the code editor. You’ll have to change the form action URL as described above.
Note that values used in the print tag can not have commas, use , instead, like so:


