To increase user engagement you can offer your contributors their own profile pages and a number of related functions. Website users can follow their favorite photographers like they can on social media. The Following page will show the latest files from favorite photographers and other information as well. You can furthermore grant contributors permissions to maintain their own page, and access to information regarding their files. The layout and the functions offered can be completely customised as all pages are created with the built-in code editor.
Prerequisites
You can use the provided layouts (as explained below) without making any changes if you are happy with the looks and functions. If you want to make changes to the functions and or layouts of the Contributor related pages, then you need to know HTML, CSS, Javascript and the XS coding language. You can of course contract Xpertise-ICT staff or other web developers to this for you.
Loading the required code
The contributor related pages (contributor overview, contributor profile, and the contributor galleries page) are made with the code editor to allow maximum flexibility in terms of both the design and the functions that you can offer. We have developed default pages for you that you’ll have to load as a starting point. If you are happy with the layout that we have included, then you can immediately start using the pages.
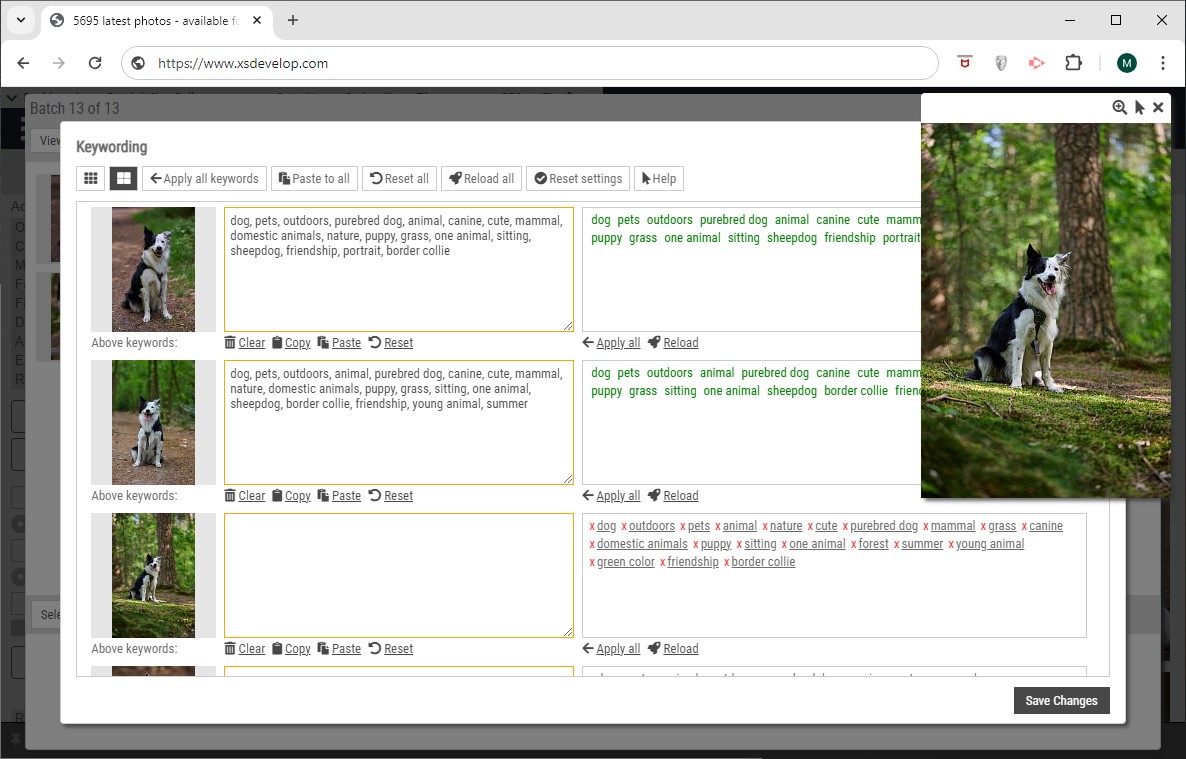
Go to the Code editor and choose Contributor galleries HTML in the drop down box at the top.
Next, click Load example and choose the first available file in the dialog that will appear. The code will show in the code editor.
At the bottom of the page click Save.
Do the same for the following pages:
– Contributors overview page HTML
– Contributors overview list item
– Contributor profile HTML
– Following HTML
Enabling the profile page for a contributor
and making a contributor appear on the overview page
To change the contributor’s settings and to enable a personal profile page for a contributor, find the contributor in Supplier management and click Edit to open the properties dialog.
You can make a contributor appear on the contributor overview page by ticking the checkbox Supplier appears on lists on the first tab sheet of the dialog. Even if you do not want to use individual contributor pages, you can still create a page that lists all or selected contributors.
You can view the contributor’s overview page with the URL contributors.html – for example www.mywebsite.com/contributors.html. Once you’ve set up everything you can of course add the contributor overview page to your menu.
To enable the profile page, click the Profile page tab and check the box Enable the supplier’s profile page. You can allow the contributor to edit his/her own profile page, and/or to upload tear sheets, check the boxes if you want this. Note that a supplier must be linked to a user account or he/she won’t be able to do this.
You can also enable Profile pages for contributors / suppliers that don’t have a user account, and you can enable profile pages without allowing your contributors to make changes themselves.
The profile properties sheet shows a number of other input fields too. Whether or not these will appear anywhere on the client facing pages depends on the html. E.g. if you don’t want the contributor’s location to show, you can remove it from the Contributor profile HTML with the code editor. This is explained further down in this article.
After you have saved the supplier properties, you can test the profile page by entering the following URL in your browser’s address bar:
http://www.mywebsite.com/contributor/[id]/[name].html
Replace [id] with the contributor / supplier id (you can find the id on the left in the supplier management overview), and replace [name] with the contributor’s name. For instance http:/www.mywebsite.com/contributor/1502/joanhazelhof.html
The contributor profile page
The default page layout (the code that you have loaded from the examples as explained above) has a place holder for a banner photo at the top of the page, a profile photo, a tool bar for administrators (or for the contributor) to make changes to the page and a number of links for the client facing pages.
It is recommended to add a banner photo, profile photo a few galleries et cetera, so that you get an idea of the possibilities – before changing the page with the code editor. When logged in with an admin account, go to a profile page as described above.
The default page will look something like the below screenshot. The buttons at the top of the cover photo area are visible to administrators and to the contributor if he/she has been granted such permissions. The buttons/links below the cover photo area are visible on the client facing pages. You can change which functions you want to make available with the code editor (explained further down in this article).

A profile photo and a cover photo
Hover over the avatar picture. You’ll see a hint appear which tells you the dimensions of the profile photo that you can upload. Note that the dimensions will change depending on the size that is defined in the page css. The appearance can be changed later on (e.g. a different size, a different position on the page or you can remove it if you don’t want it). The same is true for the banner photo. Click on Change photo to upload a profile photo and then hover over the banner area and click Change cover photo to upload a photo that meets the criteria which are displayed when you hover over the cover photo area.
Adding contributor information
If you have added information about the contributor via Supplier management, this will appear on the Contributor profile page. You can also change the contributor information on the profile page by clicking the edit profile button. If the contributor has such permissions, he or she can also edit the information him-/herself. The screenshot below shows the properties dialog.
Note that the actual dialog may look quite different depending on your configuration. This is because you can grant a contributor permissions to change their profile information, with or without allowing them to change specific settings. For example, you can put a “latest uploads” widget on the profile page and allow the contributor to either hide or show this on their page. This is also true for other widgets (e.g. widgets for galleries and tearsheets).
If you want to make use of the specialisations feature, you can create these via Site configuration, Contributor pages.

Regardless of what you can enter in the dialog, you can change what is and what is not visible on the client facing page with the code editor. This will be explained further down in this article.
Client facing functions on the Contributor profile pages
Besides the administrator/contributor functions (tearsheets, edit profile, statistics) – the contributor page offers a number of client facing functions, the links for these functions are displayed underneath the cover photo area. You can change the functions, the wording and/or the appearance with the code editor – or remove certain functions altogether if you wish.
- Follow / Unfollow
Website visitors can follow their favorite photographers. A new page is available that will show the latest files uploaded by the contributors that a user follows. - Contact the contributor directly
If enabled, a contact link can be displayed that allows website users to contact the contributor directly - Browse photos
Click to display the latest uploads by this contributor. - Galleries
Loads the Contributor galleries page. - Latest uploads
Display the latest files that a contributor uploaded - E-mail page
Displays a dialog that lets you send a link to the contributor’s profile page to an e-mail recipient. - Contributors
Loads the Contributors overview page, showing all the contributors that you have selected. - Social media sharing
Share the page on Facebook, Google+, Twitter and/or other social media.
Social media Liking and Sharing
You can use two different widgets for this purpose.
1) Facebook Like and/or Share buttons by use of the Facebook API/SDK
Add the following code:
Change style to 1 if you want a Like button only, to 2 if you want a Like and Share button and to 3 if you want a Share button only.
How the buttons appears is configured with the layout parameter (in the example we use button_count). Have a look here https://developers.facebook.com/docs/plugins/share-button and here https://developers.facebook.com/docs/plugins/like-button for possible options.
2) Social media sharing with the socialbuttons widget
Use the code below:
Change the style parameter to 1 for AddThis or 2 for an animated share function. If you use 2 then specify 1 for each app that you want to support (facebook, twitter and/or googlePlus) as shown in the example above.
Contact form for contributors
To enable this function, add the following html to the template:
Note that the class name must be emailcontributorlink. You would normally add this code to the links bar that appears underneath the cover photo, but you can put it in other places if you want. Note that the link will automatically show or hide depending on the Enable the “contact me” form setting that has to be set on the contributor’s profile.
You can grant your contributors permissions to show or hide the contact option themselves. This is explained further down in this article.
Tear sheets
The contributor (or you as an administrator) can upload up to 25 tearsheets. These jpeg files are for showcase purposes only, so the files are stored on the web server but the files will not be part of the database. Note that it is of course possible to upload other jpegs, the files don’t have to be actual tearsheets.
Click on the Upload tearsheets button at the top of the page to open the upload dialog. It will display information about the files that you can upload. You can upload multiple files at once. The tearsheet files are displayed in three columns by default, the default column (file) width is 325 pixels. You can click a file to display it full screen and you can use the cursor keys to display the next or previous file. Hover over a tearsheet file to make the delete button appear, click it to remove a file. You can also remove all tearsheet files by clicking the delete all tearsheets button in the toolbar at the top.
Below is an example of a page with some contributor information added (about, location, specialisations), a profile photo, a cover photo and a few files that were added with the tearsheets uploader.

Changing the tearsheets function with the code editor
IMPORANT
Note that even if you have added this widget, you can grant contributors to hide or show the tearsheets themselves, which is explained further down (under the heading Allowing your contributors to change which widgets appear on their page). You can also grant contributors permissions to choose to hide or display galleries and/or latest uploads.
Go to the code editor and load Contributor profile HTML. Scroll down to find the code for the tearsheets.
The tearsheets are displayed by the tag <?xs contributor(‘tearsheets’,{imgwidth:325}) ?>
The width of the tearsheet files can be changed with the parameter {imgwidth:325} – 325 pixels is the default, you can change it as required. If you want to change the width of the containing element then override the width of the css element #ctearsheets. You can do this by adding css at the top of the template, with inline style or by adding your own css rules to the custom css.
The text that appears above the tearsheets will only appear if there are files. This is achieved by adding the css class hideifempty to the container.
E.g. <div class=”hideifempty ctearsheets tearsheetsinfo”>
The class hideifempty must be followed by the id of the element that you want to test. In this example ctearsheets. If the target/tested element has no HTML, then the element that has the hideifempty class will not show.
<div class=”hideifempty ctearsheets tearsheetsinfo”>
Removing the tearsheets function from the contributor profile page
If you don’t want tearsheets at all, then remove the above code from the code editor and click Save at the bottom. The toolbar buttons Upload tearsheets and Delete all tearsheets will then no longer appear either. Note that removing this function from the page doesn’t remove any tearsheets that have already been uploaded to the server.
Displaying a contributor’s galleries on the contributor profile page
The contributor profile pages can display galleries that are linked to the contributor. Note that there’s also a separate page for contributor galleries, which is described separately. You can also allow contributors to change whether or not galleries show on their page regardless of what you have configured with the code editor. This is explained further down in this article.
The screenshot below shows how you can link a gallery to a contributor with the Gallery manager. You can also link gallery groups to contributors so that you can list all galleries in groups as opposed to individual galleries.

To link a contributor to a gallery, find the gallery in the Gallery manager and edit its properties. Next click on Add contributor to display the dialog shown below. The box Suppliers of files in this gallery will list the names of the contributors (suppliers) linked to the files in the gallery. You can then click a name to add it to the Suppliers linked to this gallery box. Alternatively, you can search for contributors by typing their name in the find box at the bottom of the dialog. It is possible to link multiple contributors to a gallery or to a group.

The profile page code for the contributor’s galleries
Find the below code in code editor for the Contributor profile HTML:
As described in the section about tearsheets, the class hideifempty is used to make sure that certain fragments are displayed only if there actually are galleries to display. So the div <div class=”hideifempty contributorgalleries galleriesinfo”> only shows if the div with id contributorgalleries has html in it. Note that the id of the element that you are testing (in this example contributorgalleries) must be added as a class immediately following the hideifempty class.
The tag <?xs contributor(‘galleries’,{source:1,rootid:0,style:2,max:5,sort:0,widgetid:contributorgalleries,textoption:2}) ?> inserts the contributor’s galleries in the page.
The parameters allow you to change what’s displayed.
- source
0 to display all galleries linked to the contributor, via groups and directly
1 to display only galleries that are directly linked to the contributor (i.e. not via a group)
2 to display only galleries that are linked via a group - rootid
0 to display galleries regardless of the root level, or
the id of the root level (you can find the root level ids in the Gallery manager) - style
The tag currently supports 4 different display styles. Each style can of course be changed by overriding the css.
1 – simple list with gallery titles as links
2 – galleries as square boxes with thumbnails.
3 – large square thumbnails
4 – masonry/pinterest style layout with fixed width and variable height thumbnails - textoption
This parameter lets you configure when/how to display the gallery title and other information – if the style parameter is not equal to 1.
1 – displays the text underneath the thumbnails
2 – displays the text in a bar positioned over the thumbnail when you hover over it
3 – displays the text positioned on top of the thumbnails at the bottom of each thumbnail (works best with styles 3 and 4) - max
Limits the number of galleries. The example tag lists a maximum of 5 first galleries, note that this is controlled with the sort parameter. - sort
0 – date ascending
1 – date descending
2 – title ascending
3 – title descending
- widgetid
Must be the id of the container element. Example:
<div id=”contributorgalleries” class=”xsgalleries gallerycontainer”>
<?xs contributor(‘galleries’,{source:1,rootid:0,style:2,max:5,sort:0,widgetid:contributorgalleries,textoption:2}) ?>
</div>
Example screen shot of a contributor page with galleries using layout style 3 (masonry)

Displaying galleries from different root levels
It is possible to use the galleries tag several times on the page. This way you can for instance list titles of photo stories separately by specifying the root level id that you have created for this type of galleries. See above screenshot for an example with a list of features on the top right. The standard code already has the following HTML for this:
In this example the root id 1433 represents a root level that exists in the Gallery manager for photo stories. You will have to change this parameter to an id that exists on your website. Read above for an explanation of the other parameters that you can use.
If you don’t want to display galleries on the profile pages
You can simply remove all of the below code from the template with the code editor (note that the actual code may look different).
Displaying a contributor’s latest uploads
You can use the latestthumbnail widget for this purpose. For more information, have a look at the Widgets article.
Contributor Following
Your website users can follow contributors that they like. To enable this function, you must configure the related settings via Site configuration, Contributor pages – and the code for the follow / unfollow buttons must be included in the profile page template. In the default template you’ll find the following HTML and tags:
If a visitor is following the contributor, then the tag <?xs contributor(‘following’,{property:1,else:0}) ?> will output the value 1. This means that the actual generated HTML will look like this:
The CSS will then take care of showing the appropriate span only. I.e. if you are following the contributor the span with the classes
followlink unfollowme following_1
will show, and otherwise the span with the classes
followlink followme following_0
will show.
If you don’t want to enable the Contributor following function, then disable it and remove the above code from the contributor profile template.
Allowing your contributors to change which widgets appear on their page.
If you have added widgets to display latest uploads, tearsheets and galleries on the contributor pages – you can add some lines of code and change a few settings in the backoffice to allow them to change what appears and what doesn’t appear themselves.
First, go to Site configuration, Contributor pages and scroll down to the bottom of the page. You’ll find three settings regarding the contributor page widgets:
Contributors with permissions to edit their profile page, may
- show/hide latest uploads on their page
- show/hide tearsheets on their page
- show/hide galleries on their page
If these checkboxes are checked, then the user can switch any of these widgets on or off for his/her own page by clicking the “edit profile” button.
For this to work, you must add conditionals to the contributor profile page HTML in the code editor. Here’s an example for the “latest uploads” widget.
The above conditional will remove the code block from the page if the contributor disables the widget. If not, then the page will show the five newest thumbnails. For more information about the latestthumbnail widget – read the article about the Infradox widgets.
Use the following code to show/hide the galleries widget output and to show/hide the tearsheets widget output:
Other settings that affect what the contributor can change via the “edit profile” button:
- enable a “contact form” on their page
if you have added code for the contact form, you can allow the contributor to or hide this function on their page/ - change the “available for commissions” setting
the contributor may change whether or not he/she is available for commissions. If available for commissions, this will appear on their page if set to on. - enable print sales for their photos
for future use - edit their website and social links
allow your contributors to change these fields. Whether or not the data is displayed on their page depends on how you’ve built the page with the editor. - edit their specialisations
allow your contributors to change their specialisations - edit the minimum price for RF and RM photos
for future use
IMPORTANT
If you have disabled the above settings – meaning that the contributor can not change these settings him/herself – you as an admin will still see the settings when you go to the contributor page and click “edit profile”.